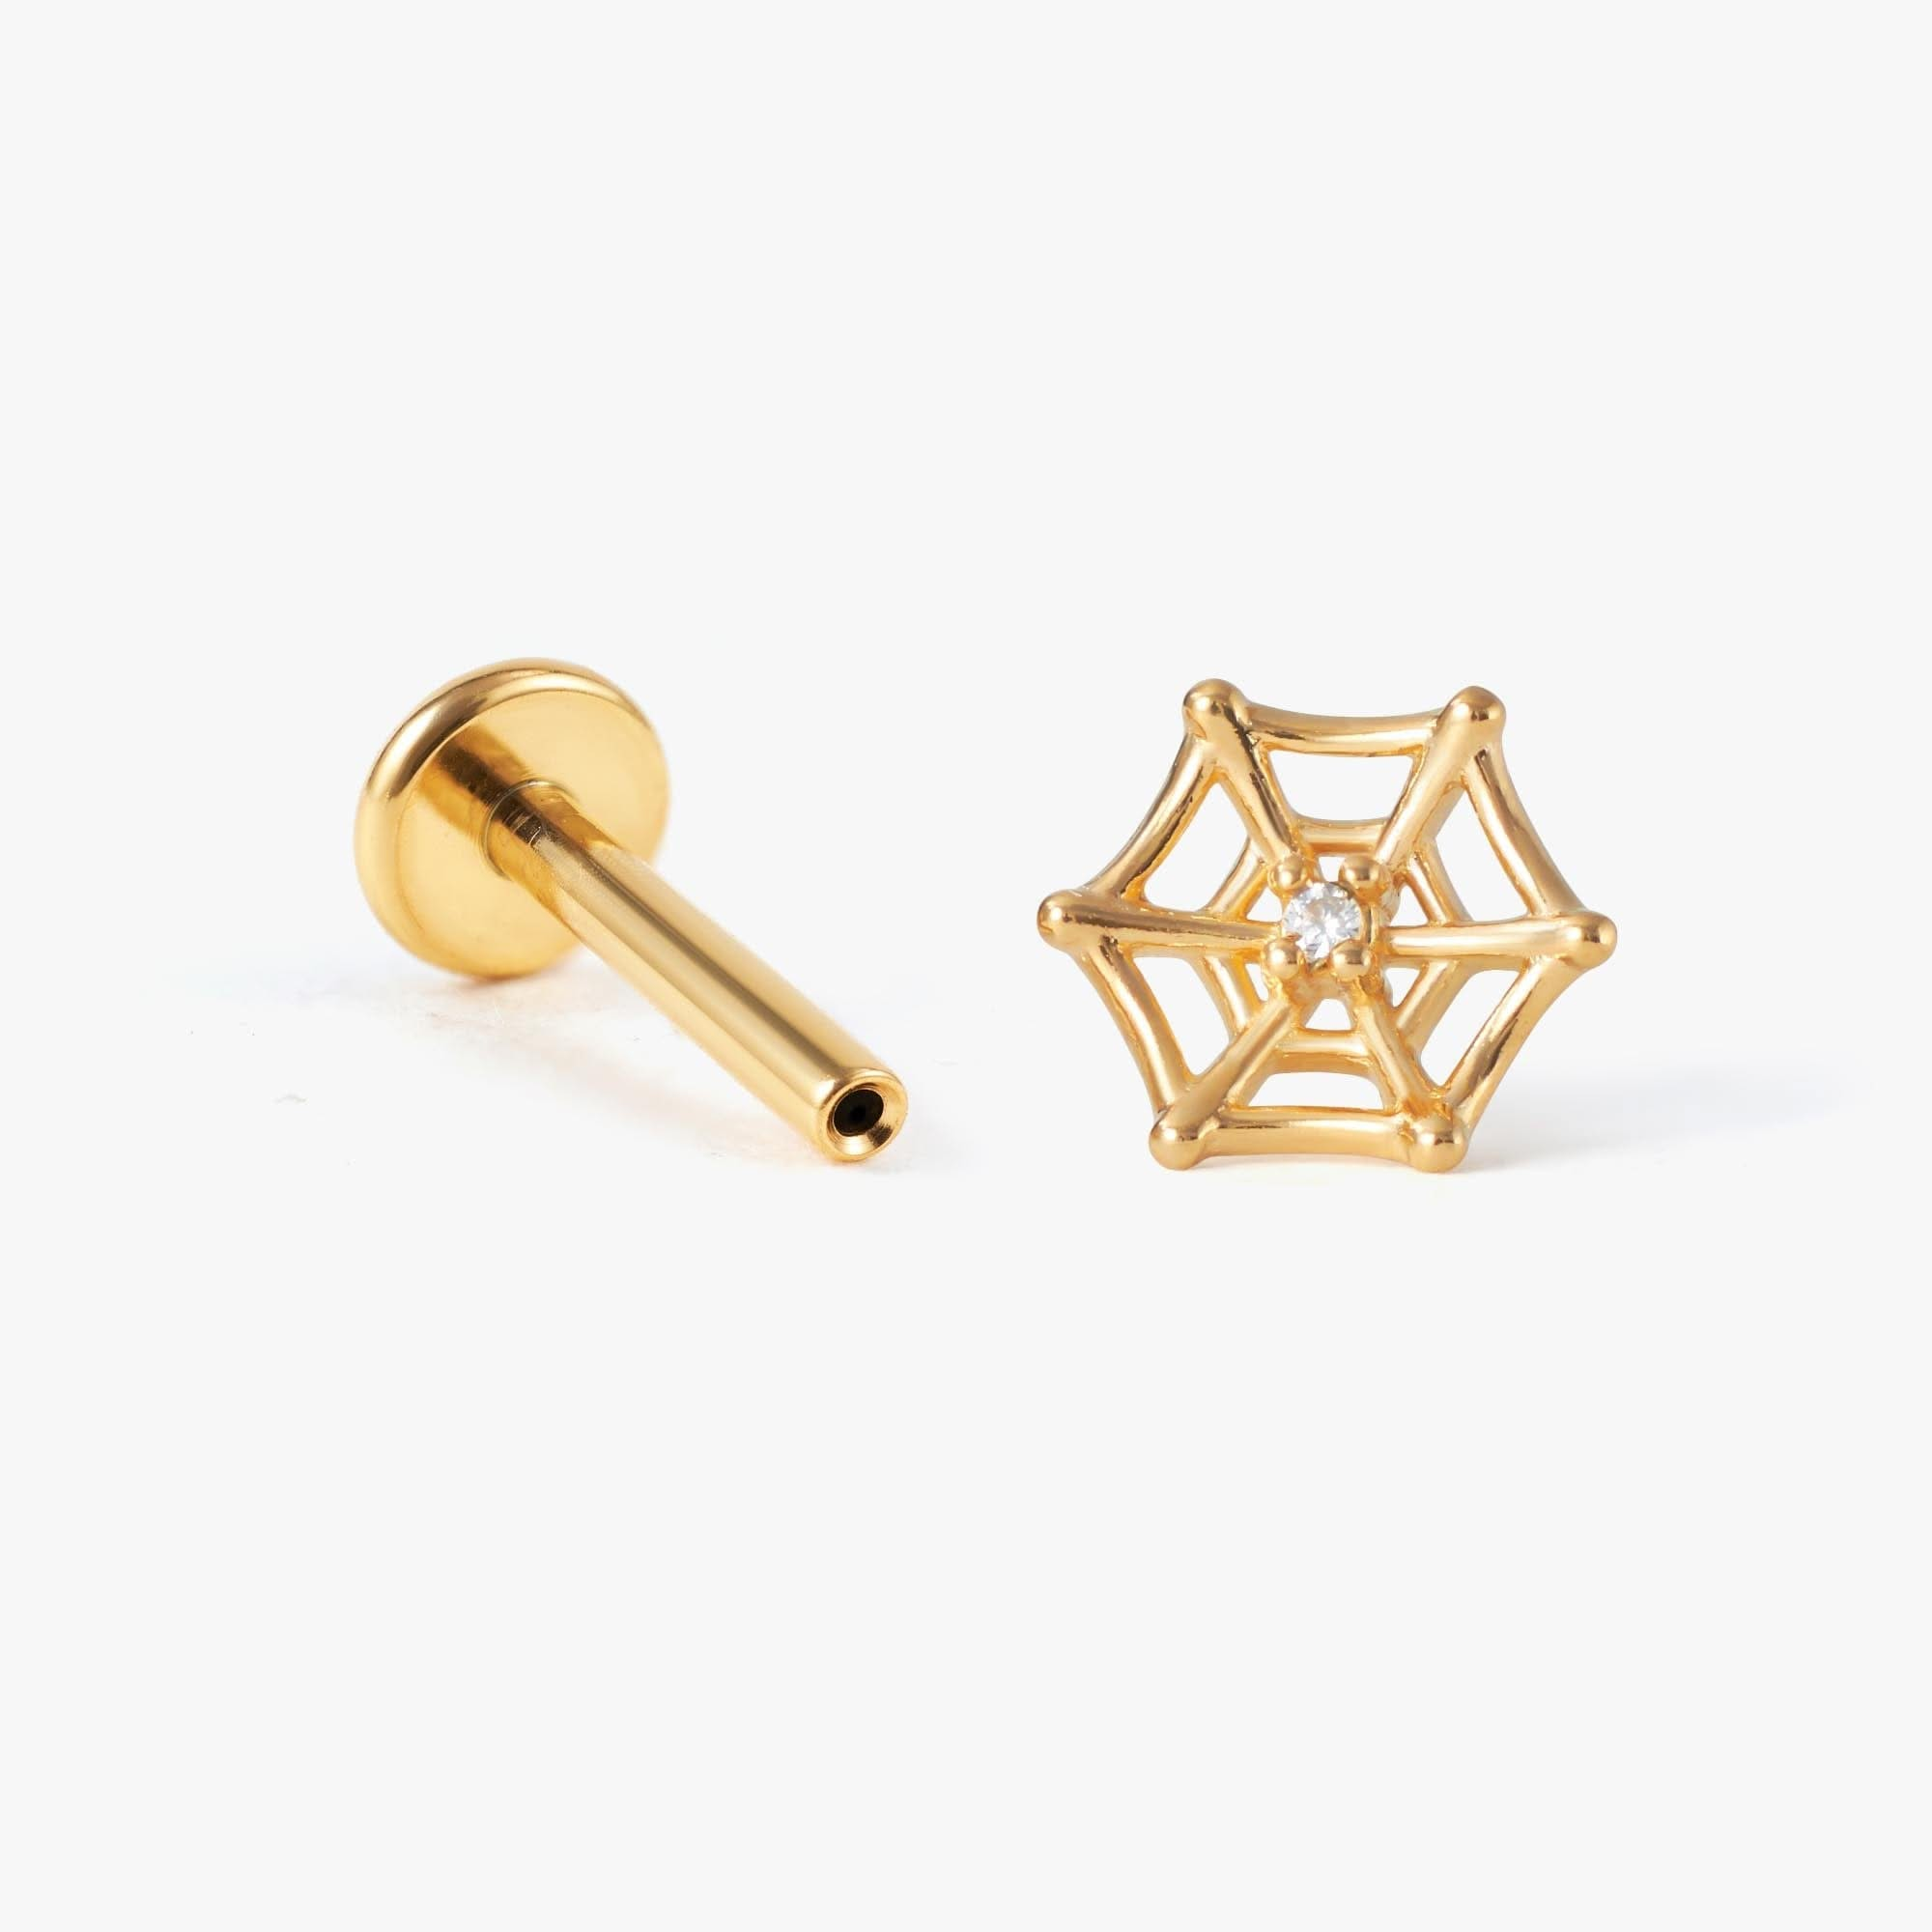
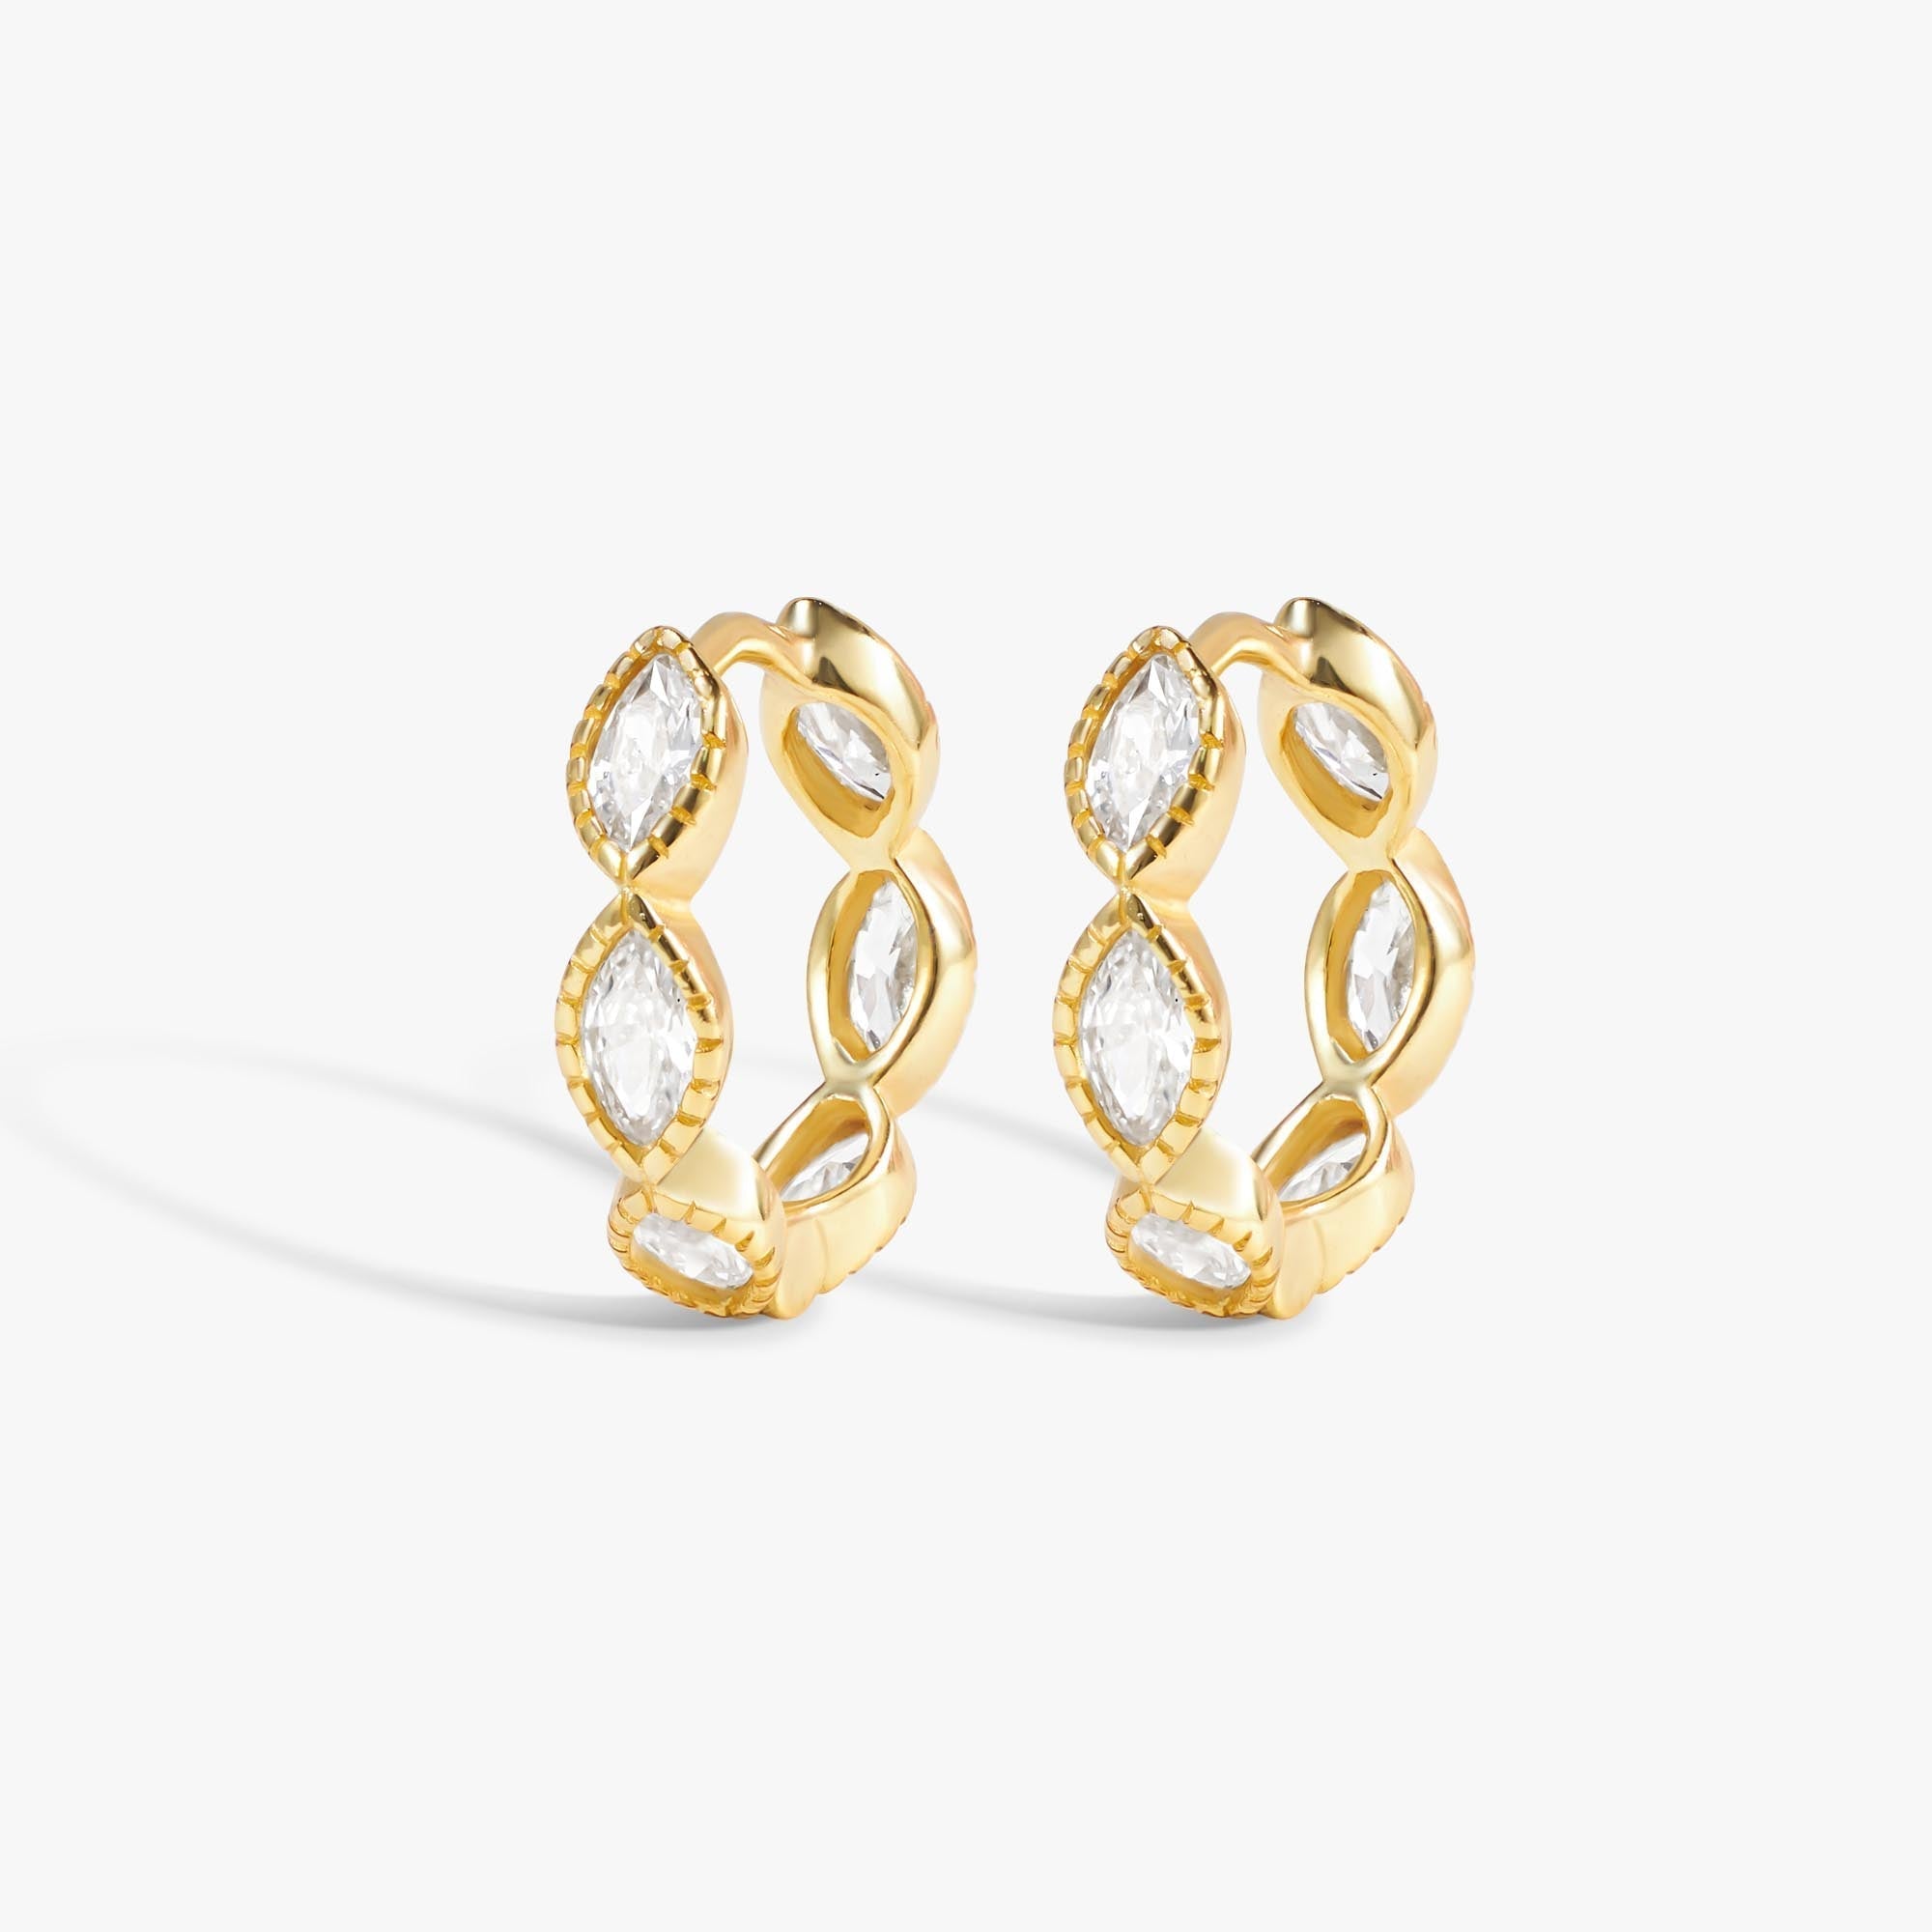
Wearing earrings frequently exposes them to sweat, oils, and even skincare products, which can build up and create a dull appearance. This buildup can sometimes lead to skin irritation or infections, particularly for those with sensitive ears. Keeping your earrings clean is about more than just appearance, it’s about maintaining good hygiene and preventing potential skin issues. Cleaning at home is easy, affordable, and can be done with items you likely already have. Let’s explore different cleaning methods to keep your earrings sparkling!
Different Methods for Cleaning Earrings

1: Soap and Water Solution
For most types of earrings, a simple soap and water solution is effective and gentle. This method works well for basic maintenance and general cleaning.
What You’ll Need:
- Mild dish soap or gentle hand soap
- Warm water
- A soft cloth or cotton pad
- A small bowl
- A soft-bristle toothbrush (optional for extra detail cleaning)
Step-by-Step Guide:
- Prepare the Solution: Fill a small bowl with warm water and add a few drops of mild dish soap. Stir gently until the soap is dissolved.
- Soak the Earrings: Place your earrings in the bowl and let them soak for about 5-10 minutes. This will help loosen any dirt and oils.
- Brush Away Residue: After soaking, use a soft-bristle toothbrush to gently scrub the earrings, focusing on any intricate details or grooves where dirt might be trapped.
- Rinse Thoroughly: Rinse the earrings under lukewarm water to remove any soap residue.
- Dry Completely: Pat the earrings dry with a soft cloth, ensuring they’re thoroughly dry before wearing or storing.
If your earrings have gemstones, avoid soaking them for too long, as prolonged water exposure can weaken certain stones or adhesives.
2: Hydrogen Peroxide Soak
Hydrogen peroxide is an excellent choice for a deeper clean, especially if you’re worried about bacteria. This method is great for earrings you wear daily and is safe for most types of metals and gems.
What You’ll Need:
- Hydrogen peroxide (3% solution)
- A small bowl
- A cotton pad or soft cloth
Step-by-Step Guide:
- Pour the Hydrogen Peroxide: Pour a small amount of hydrogen peroxide into a bowl.
- Soak the Earrings: Submerge your earrings in the hydrogen peroxide for 5-10 minutes. You may notice some bubbling; this is normal and indicates that the peroxide is killing bacteria.
- Rinse Off: After soaking, rinse your earrings with clean water to remove any remaining peroxide.
- Dry Completely: Use a cotton pad or soft cloth to pat your earrings dry before putting them back in your jewelry box.
Although hydrogen peroxide is generally safe, avoid using it frequently on delicate gemstones or soft metals, as it could wear down their finish over time.
3: Rubbing Alcohol
Rubbing alcohol is perfect for quick cleaning and sanitizing. It works well on metal and gemstone earrings and dries quickly.
What You’ll Need:
- Rubbing alcohol (isopropyl alcohol, 70% or higher)
- Cotton balls or pads
- A small dish
Step-by-Step Guide:
- Pour the Alcohol: Pour a small amount of rubbing alcohol into a dish.
- Dip the Cotton Pad: Dip a cotton ball or pad into the alcohol.
- Wipe the Earrings: Gently rub the cotton pad over your earrings, focusing on the areas that are most exposed to dirt and oils. For added cleanliness, you can use a cotton swab for tight spaces.
- Air Dry: Since rubbing alcohol evaporates quickly, there’s no need to rinse. Simply set the earrings on a clean cloth and allow them to air dry.
Avoid using this method on earrings with pearls or porous gemstones, as the alcohol can damage them over time.
4: Baking Soda and Water Paste
If you have stubborn tarnish on your earrings, a baking soda paste can work wonders. This method is especially effective for silver and non-gemstone earrings that have lost their luster.
What You’ll Need:
- Baking soda
- Water
- A soft toothbrush
- A small bowl
Step-by-Step Guide:
- Make the Paste: In a small bowl, mix one part baking soda with one part water until it forms a thick paste.
- Apply the Paste: Use your fingers or a soft toothbrush to apply the paste to the earrings, covering the tarnished areas completely.
- Scrub Gently: Use the toothbrush to gently scrub the earrings. The mild abrasiveness of the baking soda will help lift off tarnish without scratching the metal.
- Rinse and Dry: Rinse the earrings thoroughly under lukewarm water to remove any paste residue, then dry them with a soft cloth.
Avoid using this method on gold or gold-plated earrings, as the abrasiveness could damage the finish.
5: Vinegar Solution
Vinegar is another fantastic natural cleaner, particularly for removing tarnish from silver earrings. However, avoid using it on delicate stones, as it may erode them.
What You’ll Need:
- White vinegar
- Baking soda
- A small bowl
- Soft cloth
Step-by-Step Guide:
- Create the Solution: Fill a small bowl with half a cup of white vinegar and add two tablespoons of baking soda. Be prepared for a fizzy reaction!
- Soak the Earrings: Place your earrings in the solution and let them sit for about 2-3 hours. This extended soak is ideal for tackling heavy tarnish.
- Rinse Thoroughly: Rinse the earrings under clean water to remove any vinegar and baking soda residue.
- Dry Completely: Pat your earrings dry with a soft cloth before storing them.
Be cautious when using vinegar, especially on gemstones. Stick to plain silver or metal earrings for this method.
6: Ultrasonic Jewelry Cleaner
If you’re serious about keeping your earrings sparkling, investing in an ultrasonic jewelry cleaner can be worthwhile. These devices use high-frequency sound waves to dislodge dirt, making them ideal for small, intricate earrings that are hard to clean by hand.
What You’ll Need:
- Ultrasonic jewelry cleaner
- Water
- Jewelry cleaning solution (optional)
Step-by-Step Guide:
- Fill the Cleaner: Add water to the ultrasonic cleaner, following the manufacturer’s instructions. You can also add a small amount of jewelry cleaning solution for extra cleaning power.
- Place Earrings in the Cleaner: Put your earrings into the cleaner. Be sure they’re positioned properly, as different cleaners have specific guidelines.
- Run the Cleaner: Turn on the cleaner and let it run for the recommended time (usually about 3-5 minutes).
- Rinse and Dry: After cleaning, rinse the earrings under water and dry them with a soft cloth.
Ultrasonic cleaners are best suited for hard stones and metals, but they should be avoided with porous stones like pearls, opals, or any jewelry with glue settings.
Cleaning Different Types of Earrings

Different earring materials require specific cleaning methods to ensure you don’t accidentally damage the jewelry. Here’s a breakdown of the best cleaning techniques for each type.
1. How to Clean Gold Earrings
Gold is a durable material, but it can still become dull with regular use. Here’s a simple way to clean gold earrings at home:
- Prepare a Soapy Solution: Mix a few drops of mild dish soap in a small bowl of warm water.
- Soak the Earrings: Place your gold earrings in the soapy solution and let them soak for about 10–15 minutes. This helps loosen any dirt or grime.
- Gently Scrub: Use a soft-bristle toothbrush or a cotton swab to gently scrub the earrings, especially in small crevices.
- Rinse and Dry: Rinse the earrings thoroughly with clean water and pat them dry with a soft cloth.
Avoid harsh chemicals or abrasive materials on gold, as they can scratch or damage the metal.
2. How to Clean Silver Earrings
Silver is prone to tarnishing over time, especially when exposed to moisture or air. Here’s how to clean your silver earrings and restore their shine:
- Create a Baking Soda Paste: Mix a small amount of baking soda with water to form a paste.
- Apply the Paste: Use a cotton swab or your fingers to gently apply the paste to the earrings. Let it sit for a few minutes.
- Gently Scrub and Rinse: Use a soft brush to scrub the earrings lightly, then rinse with water.
- Dry Completely: Make sure your silver earrings are fully dry before storing them.
If your silver earrings are heavily tarnished, you can try a mixture of baking soda and white vinegar. Soak the earrings briefly, but remember to rinse and dry them thoroughly afterward.
3. How to Clean Gemstone Earrings
Gemstones and diamonds require special care to maintain their sparkle. Avoid harsh chemicals and focus on gentle cleaning methods to avoid damaging the stones.
- Use a Soapy Solution: Prepare a mixture of warm water and a few drops of mild soap.
- Soak the Earrings: Place your gemstone earrings in the solution for about 10 minutes.
- Brush Carefully: Use a soft toothbrush to clean around the stones and any metal settings.
- Rinse Thoroughly: Rinse with clean water, ensuring no soap residue remains on the earrings.
- Dry and Polish: Pat dry with a soft cloth, and use a polishing cloth to give them a final shine.
For earrings with delicate or soft stones (like opal or pearl), skip the soaking step and simply clean them with a soft, damp cloth. Avoid submerging these stones, as they may absorb water.
4. How to Clean Pearl Earrings
Pearls are delicate and can be easily damaged by harsh chemicals or excessive moisture. To keep your pearls looking their best, handle them with extra care:
- Dampen a Soft Cloth: Lightly dampen a soft cloth with water and gently wipe the surface of each pearl.
- Avoid Soaking: Never soak pearls in water, as they are porous and can lose their luster.
- Air Dry: Allow the earrings to air dry completely before putting them away.
Avoid direct contact with perfumes, lotions, or hair products when wearing pearls, as these can damage the surface over time.
Tips for Keeping Earrings Clean
Cleaning your earrings regularly will help keep them in top condition.
- Avoid Wearing Earrings in the Shower or Pool: Chlorine, soaps, and other chemicals can damage or tarnish earrings.
- Store Properly: Keep your earrings in a jewelry box or pouch to protect them from dust and moisture.
- Avoid Contact with Chemicals: Remove earrings before swimming, showering, or applying lotions and perfumes.
- Handle with Care: Always handle earrings by their edges to avoid transferring oils from your fingers to the jewelry.
- Regular Maintenance: Give your earrings a quick wipe after wearing them to remove any oils or dirt.
Where to Buy High-Quality Earrings

Are you searching for premium earrings that are both hypoallergenic and tarnish-resistant? At Erica Jewels, we specialize in high-quality earrings designed for comfort, durability, and timeless style. Our collection is crafted to suit any occasion, offering pieces that elevate both casual and formal looks.
Choose from our diverse selection of earring styles:
We value our customers and are excited to offer special discounts and free gifts on selected orders! Use the code SHINE20 at checkout for 20% off your purchase.
Conclusion
You can easily restore the sparkle to your favorite earrings and keep them looking their best by using any of the methods outlined above, ensuring they continue to shine beautifully for every occasion. Whether it’s a quick clean with warm water and soap or a deeper cleanse with hydrogen peroxide, each method offers a simple and effective solution to ensure your earrings stay in top condition.
Cleaning your earrings is not only about aesthetics, it also plays an important role in avoiding potential infections and discomfort. Earrings, especially those worn daily, can accumulate harmful bacteria, oils, and dirt, which can lead to skin irritation or even infections. By integrating regular cleaning into your routine, you can enjoy wearing your earrings without worry.


